
Sumo Logic Collector Integration with Linux Log Monitoring – Step-by-Step Installation and Configuration Guide
Table of Contents
Introduction
Prerequisites
Collector Installation
Setting ACL Permissions
Defining Log Sources
Starting the Collector Service
Verification on the Sumo Logic Interface
Conclusion and Next Steps
1. Introduction
The Sumo Logic OpenTelemetry Collector allows you to collect log and metric data from Linux servers and forward it to the Sumo Logic platform. This guide provides a detailed walkthrough for installing the Sumo Logic Collector on Ubuntu/Kali-based systems, defining log sources, and monitoring logs through the Sumo Logic interface.
2. Prerequisites
A Linux distribution (Ubuntu 20.04+, Kali Rolling, or Debian-based)
A user account with root or sudo privileges
An active Sumo Logic account with a valid Collector Token
3. Installing the Collector
For systems like Kali, which are not officially supported, you must override the OS identification during installation:
curl -sL https://github.com/SumoLogic/sumologic-otel-collector-packaging/releases/latest/download/install.sh | \
os=ubuntu dist=jammy \
SUMOLOGIC_INSTALLATION_TOKEN="
sudo -E bash -s -- --install-hostmetrics --tag "host.group=default" --tag "deployment.environment=default"
After the installation is complete, verify that the Collector is running correctly:
sudo systemctl status otelcol-sumo
4. Configuring ACL Permissions
To allow the Collector to access log files under /var/log/, appropriate ACL permissions must be granted:
sudo apt install acl -y
sudo setfacl -R -m d:u:otelcol-sumo:r-x,d:g:otelcol-sumo:r-x,u:otelcol-sumo:r-x,g:otelcol-sumo:r-x "/var/log/"
5. Defining Log Sources
The Collector defines log sources through YAML configuration files placed under the conf.d/ directory. Create a file named linux_logs.yaml as follows:
sudo nano /etc/otelcol-sumo/conf.d/linux_logs.yaml
Insert the following content:
receivers:
filelog/linux_combined:
include:
- /var/log/auth.log
- /var/log/syslog
- /var/log/daemon.log
- /var/log/dpkg.log
- /var/log/kern.log
- /var/log/audit/audit.log
- /var/log/secure
- /var/log/messages
- /var/log/yum.log
- /var/log/dnf.log
start_at: beginning
operators:
- type: regex_parser
regex: '^(?P
timestamp:
parse_from: attributes.timestamp
layout: '%b %d %H:%M:%S'
processors:
batch/linux_combined:
send_batch_size: 512
timeout: 5s
exporters:
sumologic/linux_combined:
sending_queue:
enabled: true
retry_on_failure:
enabled: true
fields:
_sourceCategory: otel/linux
service:
pipelines:
logs/linux_combined:
receivers: [filelog/linux_combined]
processors: [batch/linux_combined]
exporters: [sumologic/linux_combined]
6. Starting the Collector Service
Restart the Collector service to apply the changes:
sudo systemctl restart otelcol-sumo
You can manually add a test log entry to validate the configuration:
echo "OTEL TEST ENTRY $(date)" | sudo tee -a /var/log/auth.log
7. Verification in the Sumo Logic Interface
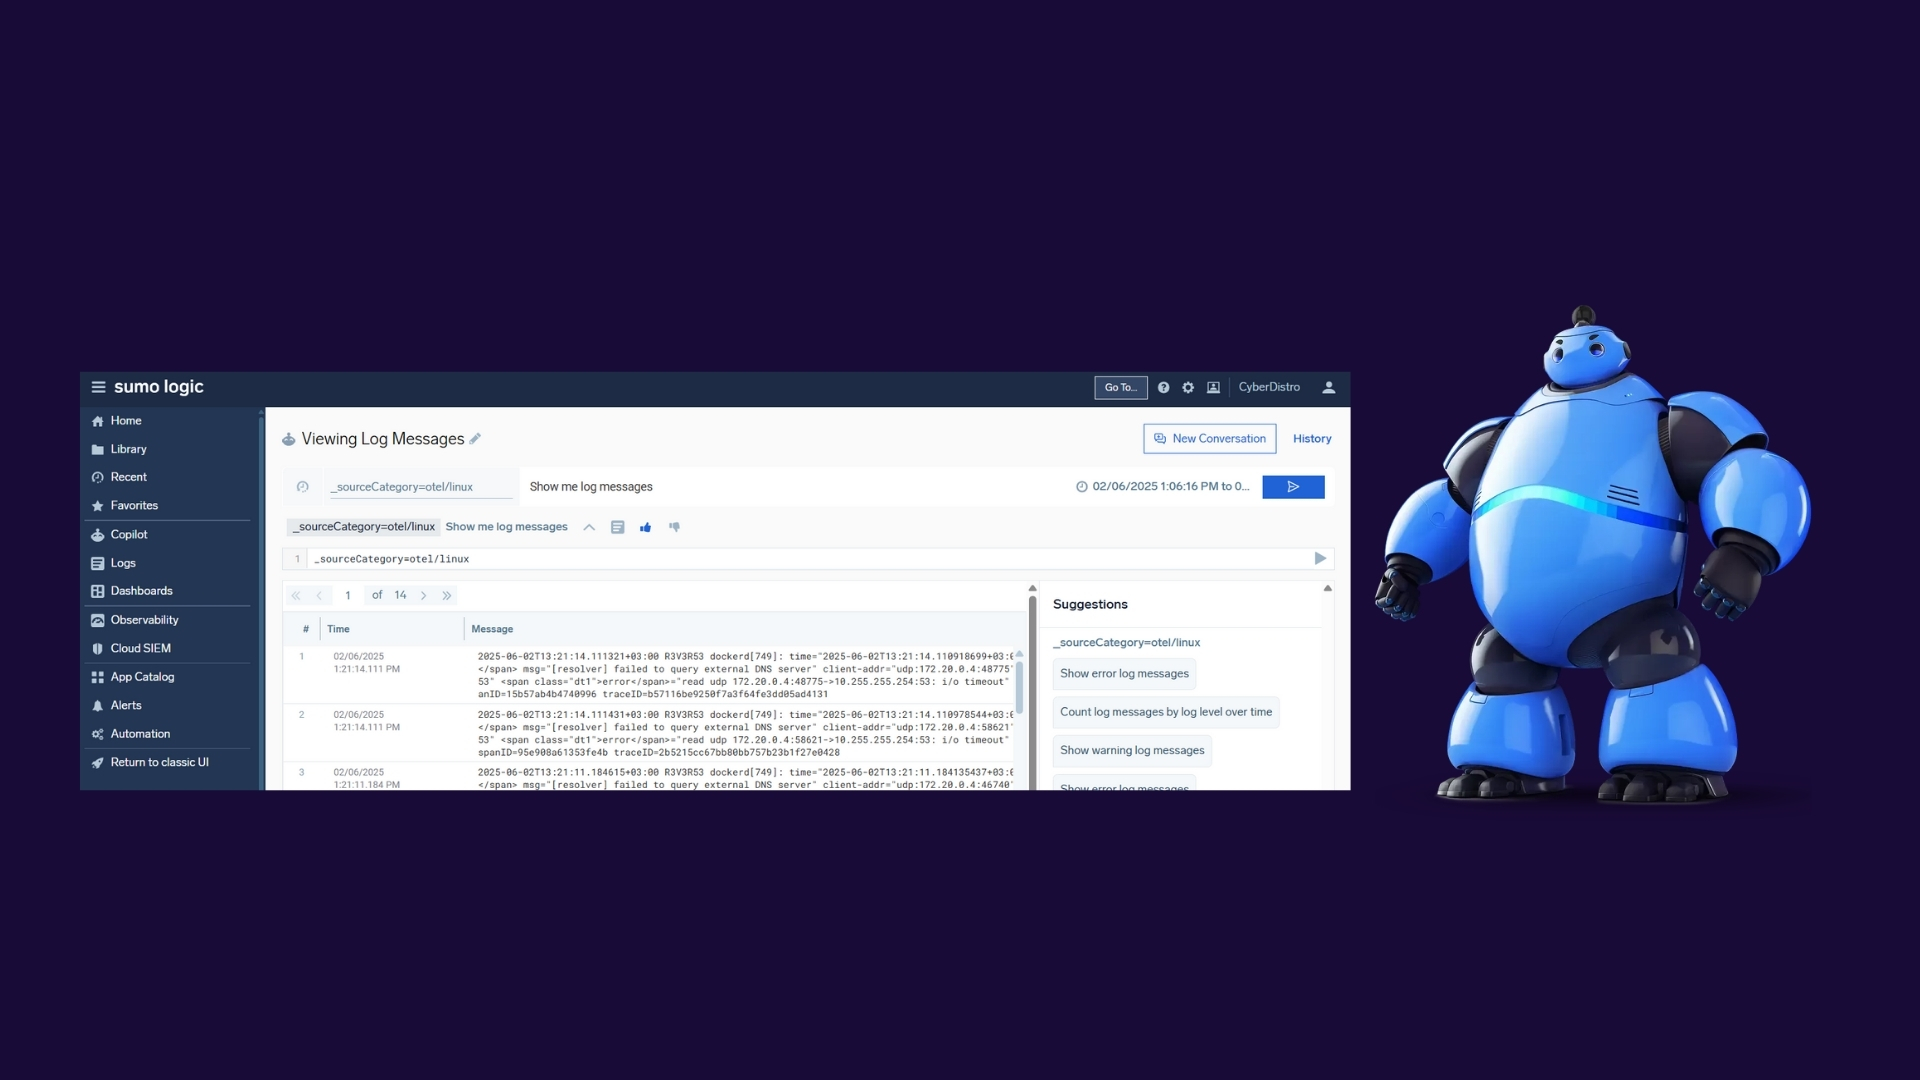
To verify that logs are being ingested correctly, run the following query in the Sumo Logic UI:
_sourceCategory=otel/linux
You should see the log entries appearing as expected.
8. Conclusion and Next Steps
In this guide, we successfully completed the installation of the Collector, defined log sources, and integrated with the Sumo Logic interface. From this point, you can:
Extend the configuration to collect logs from additional services like Nginx or Docker
Set up custom alerts
Build visual dashboards
By modularly enhancing this setup, you’ll have established a centralized and scalable log monitoring solution.